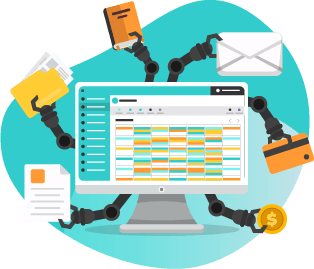
Automate It
You’ve mastered The Basics and now you’re ready to Automate It! In The Basics, you learned about how TutorBird can help you manage your billing & invoicing. In this stage of our Getting Started Guide, you’ll learn about how to put your invoices and billing on autopilot to help you get paid faster!
Can TutorBird automate……

new student sign-ups? – Yes
Add a sign-up form to your website and new student information will automatically be added in TutorBird. Automatically send a custom welcome email to the new student with all the info they need to get started!

cancelled lessons turning into make-up slots? – Yes
If a student cancels, you don’t have to let that adjust your schedule. Automatically convert cancelled lessons into open make-up slots for your other students to register in!
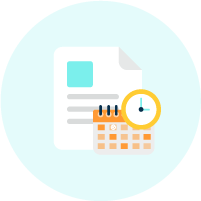
invoicing and billing? – Yes
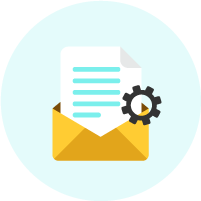
Set up invoices to be created automatically. And what good is an invoice if it just sits in your account? Invoices can automatically be sent to families once they’re generated, and even charged automatically with the payment info on file!

lesson reminders? – Yes
Reduce no-shows with automatic email & SMS lesson reminders. Choose how far in advance you want them to be sent, and for which lesson categories!

birthday messages? – Yes
Add that little bit of extra personalized communication with your students. Customize your birthday email template to include a picture, pun, or sweet birthday message!
my cancellation policy being enforced? – Yes
Let TutorBird be the bad guy for you! All cancellations done through the Student Portal past your specified cancellation deadline can enforce your policy of charging for the lesson.

my entire coffee order, including latte art? – Ye – wait, no
But with all the time you’ll save on everything else TutorBird can automate, you’ll have time to make your own lattes!
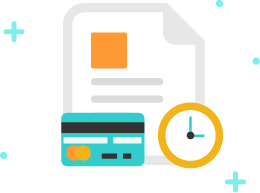
Like we talked about in the last section of this guide, invoicing and billing can be one of the most time-consuming tasks when it comes to admin work. If trying to get paid on time is a headache for you month after month, let TutorBird be your remedy. Auto Pay is a fan-favorite feature, and for a good reason – accepting online payments means you could get paid 2x faster!

Auto Pay
1. A feature that will automatically charge the on-file payment information when invoices are sent
2. The secret to getting paid on time, every month, without lifting a finger
e.g. I used to spend days chasing down families asking for the money they owed (awkward, am I right?). Now I have them all on Auto Pay and I can just relax and watch the money roll in!
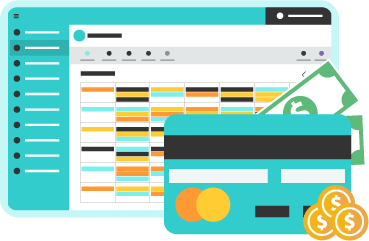
Automating your financials will take a bit of time to get set up initially, but will save you hours in the long run. Let’s break it into four stages:

Choosing a Payment Processor
Setting up Auto-invoicing
Customizing Your Invoice Email Template

Enabling Auto Pay

Step 1:
Choosing a Payment Processor
One of the big decisions you have to make when running your business is how to collect payments. And if you’re going to accept online payments, you’ll need to choose the payment processor that works best for you. Regardless of which one you go with, you’ll be paying processing fees on your transactions. TutorBird integrates with Stripe and PayPal to accept online payments. Both payment processors have pros and cons – you’ll need to pick the one that works best for you. If you’re based in the US, Stripe offers ACH payments at 0.8% so your families can pay using their bank account. To set up your online payment processor, go to your Business Settings, then Online Payments.
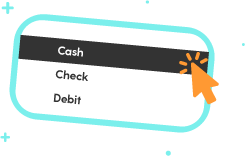
You can also accept payments outside of your online payment processor, like cash or checks. When you receive a payment, manually add it to the Family Account so you can keep accurate bookkeeping.

Step 2:
Setting up
Auto-invoicing
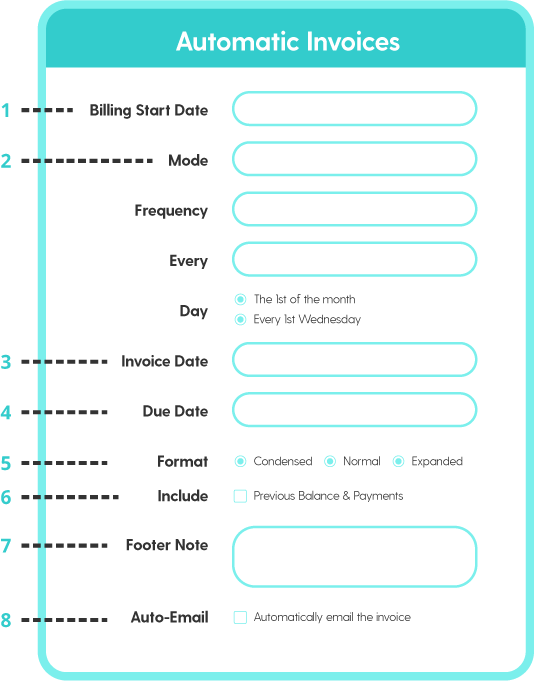
Every family can have their own unique auto-invoicing settings, or you can set them up in bulk! Here’s what the different auto-invoice settings mean:
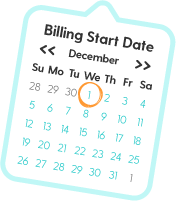
1. Billing Start Date – The first date of your next billing cycle.
2. Mode – Whether you’re billing for upcoming lessons (pre-paid) or lessons that have already happened (post-paid).
3. Invoice Date – Choose how many days before the billing cycle starts you want the invoice to be created (this setting is optional).
4. Due Date – Choose how many days after the invoice date you want the payment to be due (this setting is optional).
5. Format – Select from Condensed, Normal, or Expanded views to change how much information is displayed on the invoice.
6. Include Previous Balance – Selecting this will carry forward any outstanding balances (we recommend leaving this enabled).
7. Footer Note – If you have additional information to add to your invoices, this is a great place to put it. Keep in mind, this note will be included in all future instances of the invoices unless you update the auto-invoice settings.
8. Auto-Email – We hope this one’s self-explanatory, but just in case… Enabling this means the invoice will automatically be emailed to the parent once it’s been created. Don’t worry, you’ll receive an auto-invoice summary 4 days before the invoice date so you can spot check and make any corrections if needed.

Step 3:
Customizing Your Invoice Email Template
When you set up auto-invoicing, you can also enable the option to email the invoices as soon as they’re generated. We recommend customizing the system email template so you can include any information you want to share with your families. Go to your Business Settings and click the Email & SMS tab. Click Edit next to the Invoice template to customize your email, including text, placeholders, and images.


Step 4:
Enabling Auto Pay
Auto Pay is what brings alllllll of this together. With this enabled, not only will your invoices be created and emailed automatically, the moment the system sends it to your families it will be charged automatically to the payment method on file! Parents can enable this when adding their credit card or bank info, or you can enable it on their behalf. You can even set it up so all newly added cards will automatically be enrolled in Auto Pay.
Top Troubleshooting Tip
In the last section of this Guide, you learned that an invoice is a printer-friendly snapshot of the transactions in a Family Account within the date range. Our top tip for when auto-invoicing looks off is to double-check the date range. You’ll always want to make sure the Billing Start Date is set to the first day of the billing cycle.

You’ve learned The Basics and how to Automate It – you’re well on your way to becoming a TutorBird pro!
Keep reading to learn about taking TutorBird to The Next Level by adding content for your students and giving them the most value out of the Student Portal!